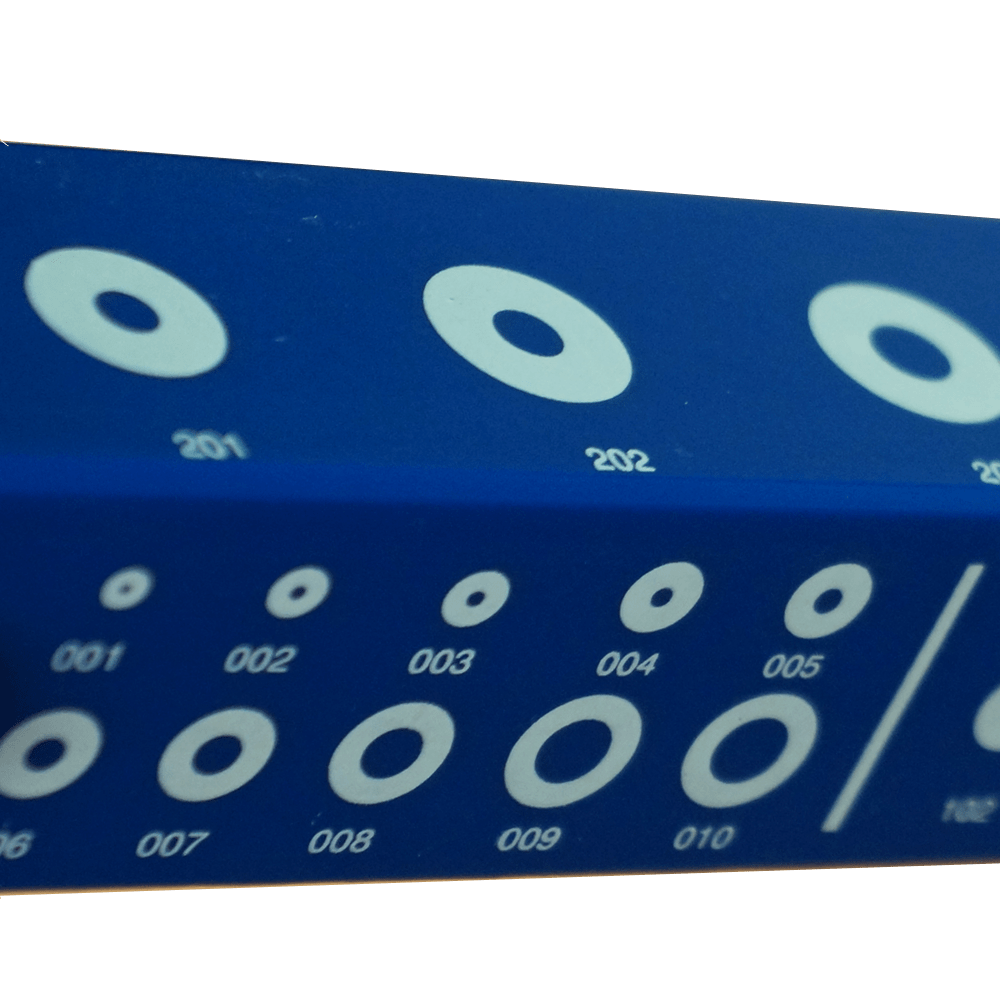
Gauge O-Ring, identifier of the standar O-rings AS568 series 

1. SECTION IDENTIFIER OR C/S

At one end of the meter we have 5 slots corresponding to the 5 standard thicknesses of the series AS-568:

1,78mm | 2,62mm | 3,53mm | 5,33mm | 6,99mm

When we have the section identified, we will know which face of the OR Gauge we should use.

2. PLACE THE O-RING

Once the face of the meter that we must use (according to the thickness) has been identified, we have three options to place the O-ring.

Medidor

A OPTION 

If it is very small (except it is about 6,99mm), we will use the white silhouettes drawn on the surface of the meter for identification.
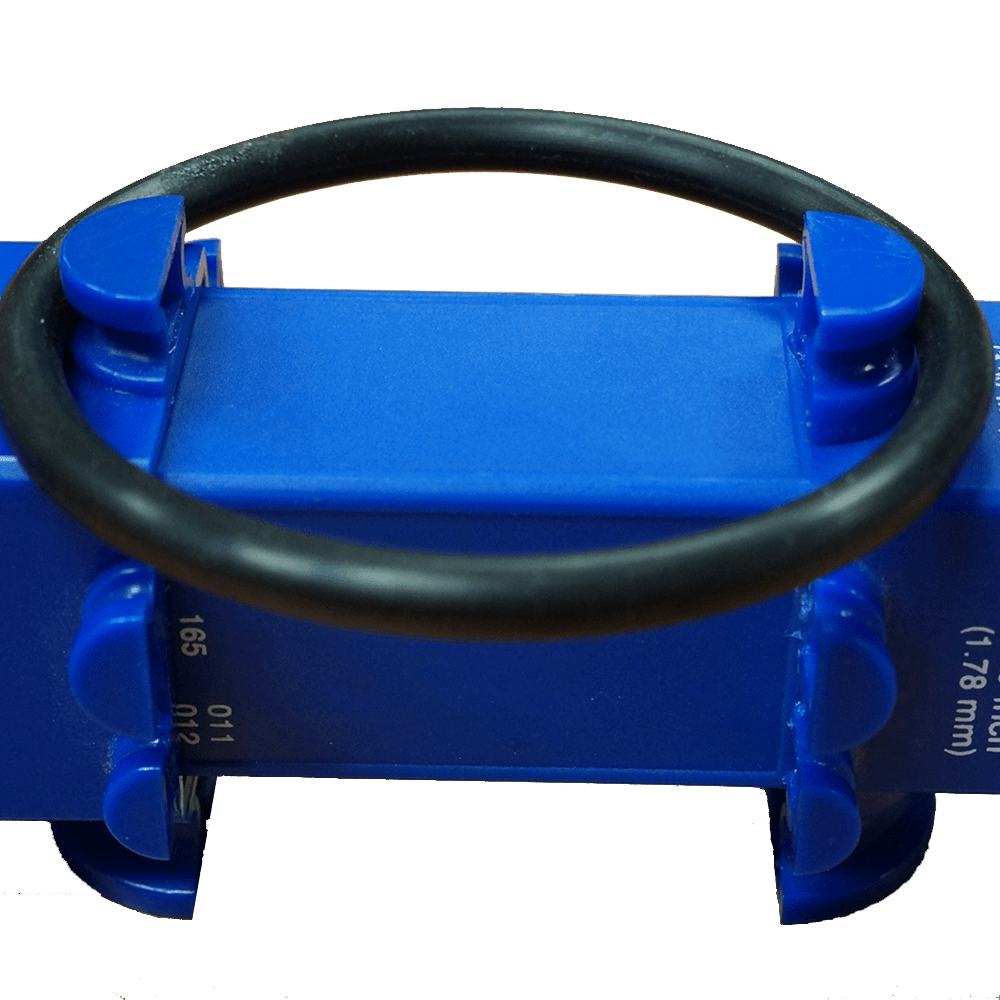
medidor

B OPTION

For intermediate diameters we will use the split circular supports that are located next to the measurement slots of the section or C/S.
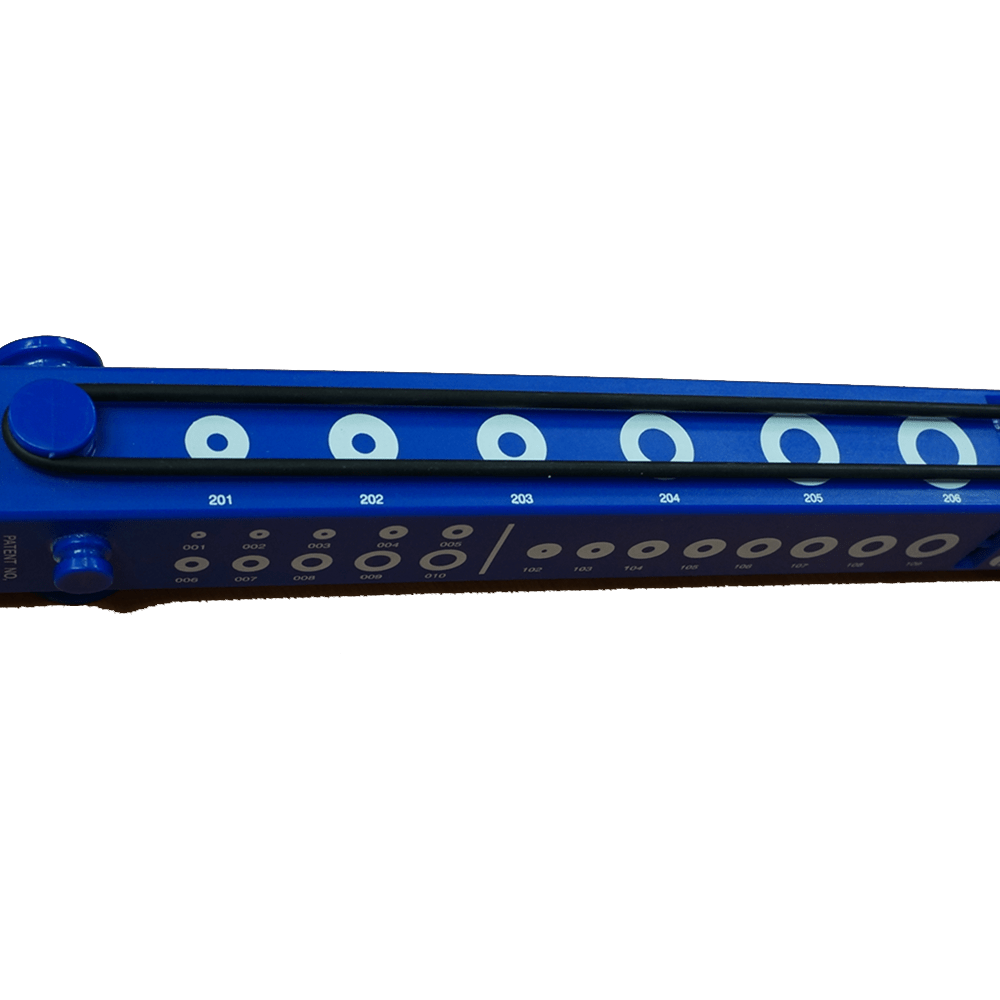
Medidor

C OPTION

For large diameters we will use, at one end, the split circular support that is next to the measuring slots, and at the other end, the circular support located at the other end of the gauge.

3. EXTEND THE O-RING

If we have selected options B or C in the previous point, we will have to stretch the joint by sliding the two parts of the gauge outwards. The joint should be tight, but not stretched or distorted.

4. IDENTIFY THE O-RING

Finally, we only have to read the AS568 code that will give us the exact measurement of the joint. To do this we must look for the window that is on the face corresponding to the appropriate section or torus, and under the symbol that shows the support used to stretch the joint (option B or C of point 2.)


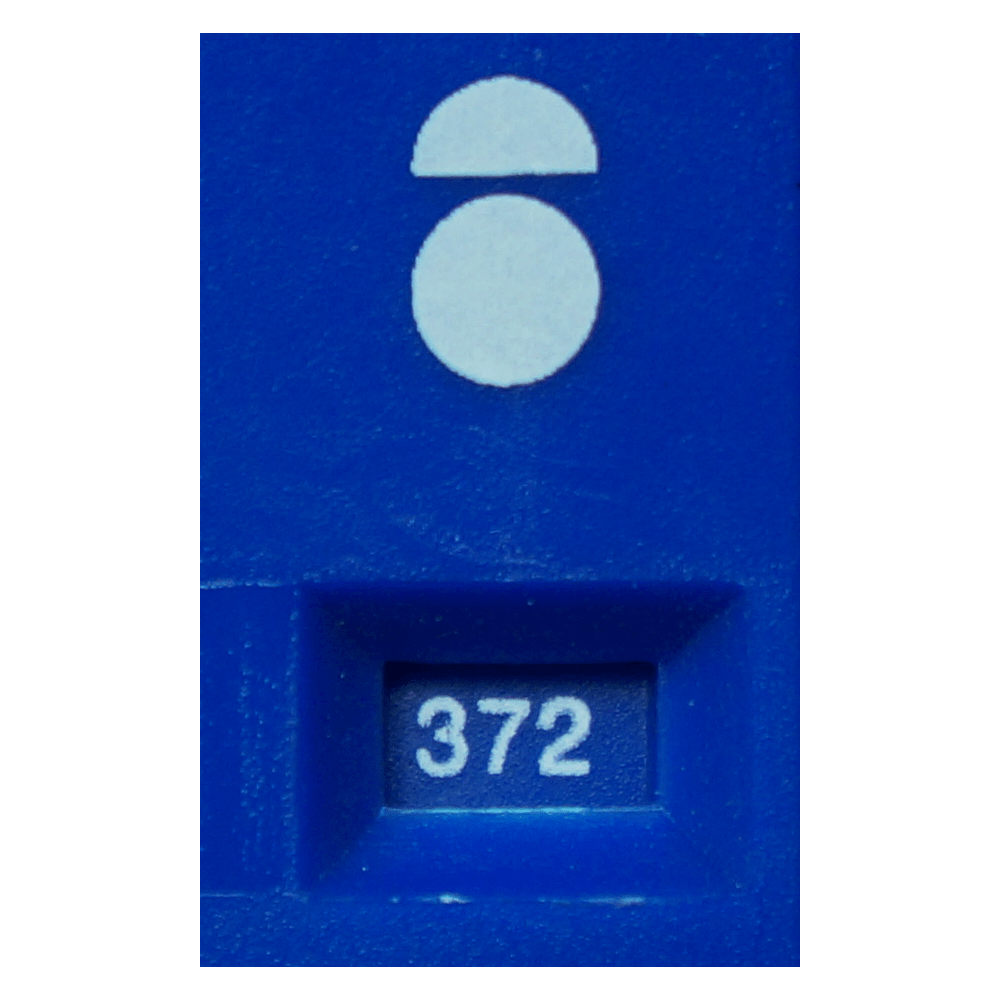
B option for INTERMEDIATE diameters using split circular supports.

medidor

C option for BIG diameters using split circular support and circular support  utilizando el soporte circular partido, y el soporte circular located at the other end of the meter.

5. TABLE AS568 CHECK

With given code, we will try to achieve the equivalent measure in AS568 table:


AS 568 C/S (inches) Ø inside (inches) Ø outside (inches) C/S (mm) Ø inside (mm) Ø outside (mm)